You can see a lot of these projects involve the kids, an essential because they are all around 24/7 these days! How has your summer been going? Are you feeling creative?
Showing posts with label crafts. Show all posts
Showing posts with label crafts. Show all posts
Tuesday, July 31, 2012
Summer DIY Inspiration; Episode 2
I still have DIY on the brain, and now that summer heat is here I can take some projects outdoors! Here are the new projects I would love to get my hands on...
Wednesday, June 6, 2012
DIYs I'd Like to Try This Summer
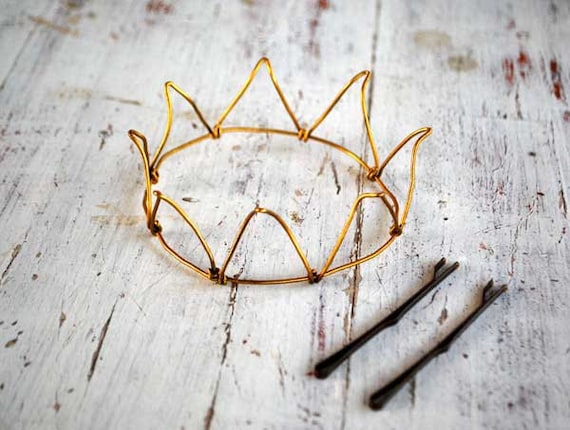
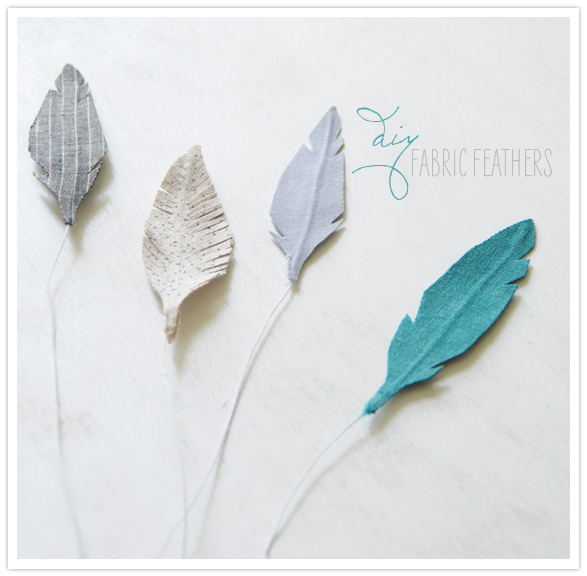
Ever since Holly saw her auntie wearing one in her hair, she has wanted a feather of her own. I like that I could customize the colours for her barrettes with these, found at 100 layer cake.
I don't know why I never thought of using Henry's old blocks for cool hooks. And dip-dyed? count me in. Via here.
These fun little planters found on Bambula would look great on my new horizontal fence, don't you think?
This adorable little cloud magnet found at Casa e trend makes me want to bust out the ol' Fimo again! (I loved that stuff as a kid!)
I could see these sweet clay pots sitting on my kitchen window...
Finally, these fabric flower garlands are just perfect for Holly's (and Hazel's!) room, don't you think? I feel like all these DIYs are achievable on a weekend, feel like tackling one with me?
Friday, February 10, 2012
Crafty To-Dos
 |
| LivingEco |
Don't you find your pinterest is just full of things you want to make? I know mine is and I just never get around to it!
Eleanor and I had a little craft session today. We had to decorate a wooden frame for the daycare. It contains and picture of her and sits above her cubby hole. I will spare you the tack-a-rama of the finished frame. Suffice it to say that the items were chosen by a ballet/pink/girly 3 year old and comprised of:
- 3 sparkly stocking butterflies
- numerous charms, mostly pink and/or sparkly.
These were hot glued to the frame. Not tasteful, but my girl did it. Hopefully she will get better taste as she gets older!
Here are some projects that are on my to-do list:
 |
| Prudent Baby |
Um, adorable! They would have to be a bit pinker/purpler for us though!
 |
| Moth and Sparrow |
Argh! Dying of cuteness here! I have a couple of pregnant friends and I'd love to do some!
 |
| Ucreate |
This is genius! You use glue as a dye resist.
 |
| Whipup |
I would love to do this with my kids. They love stamping. I am a mess-phobe though, but I should loosen up!
What is on your crafty to-do list?
Wednesday, November 16, 2011
Crafting Girls Night and Dollar Store Goodies
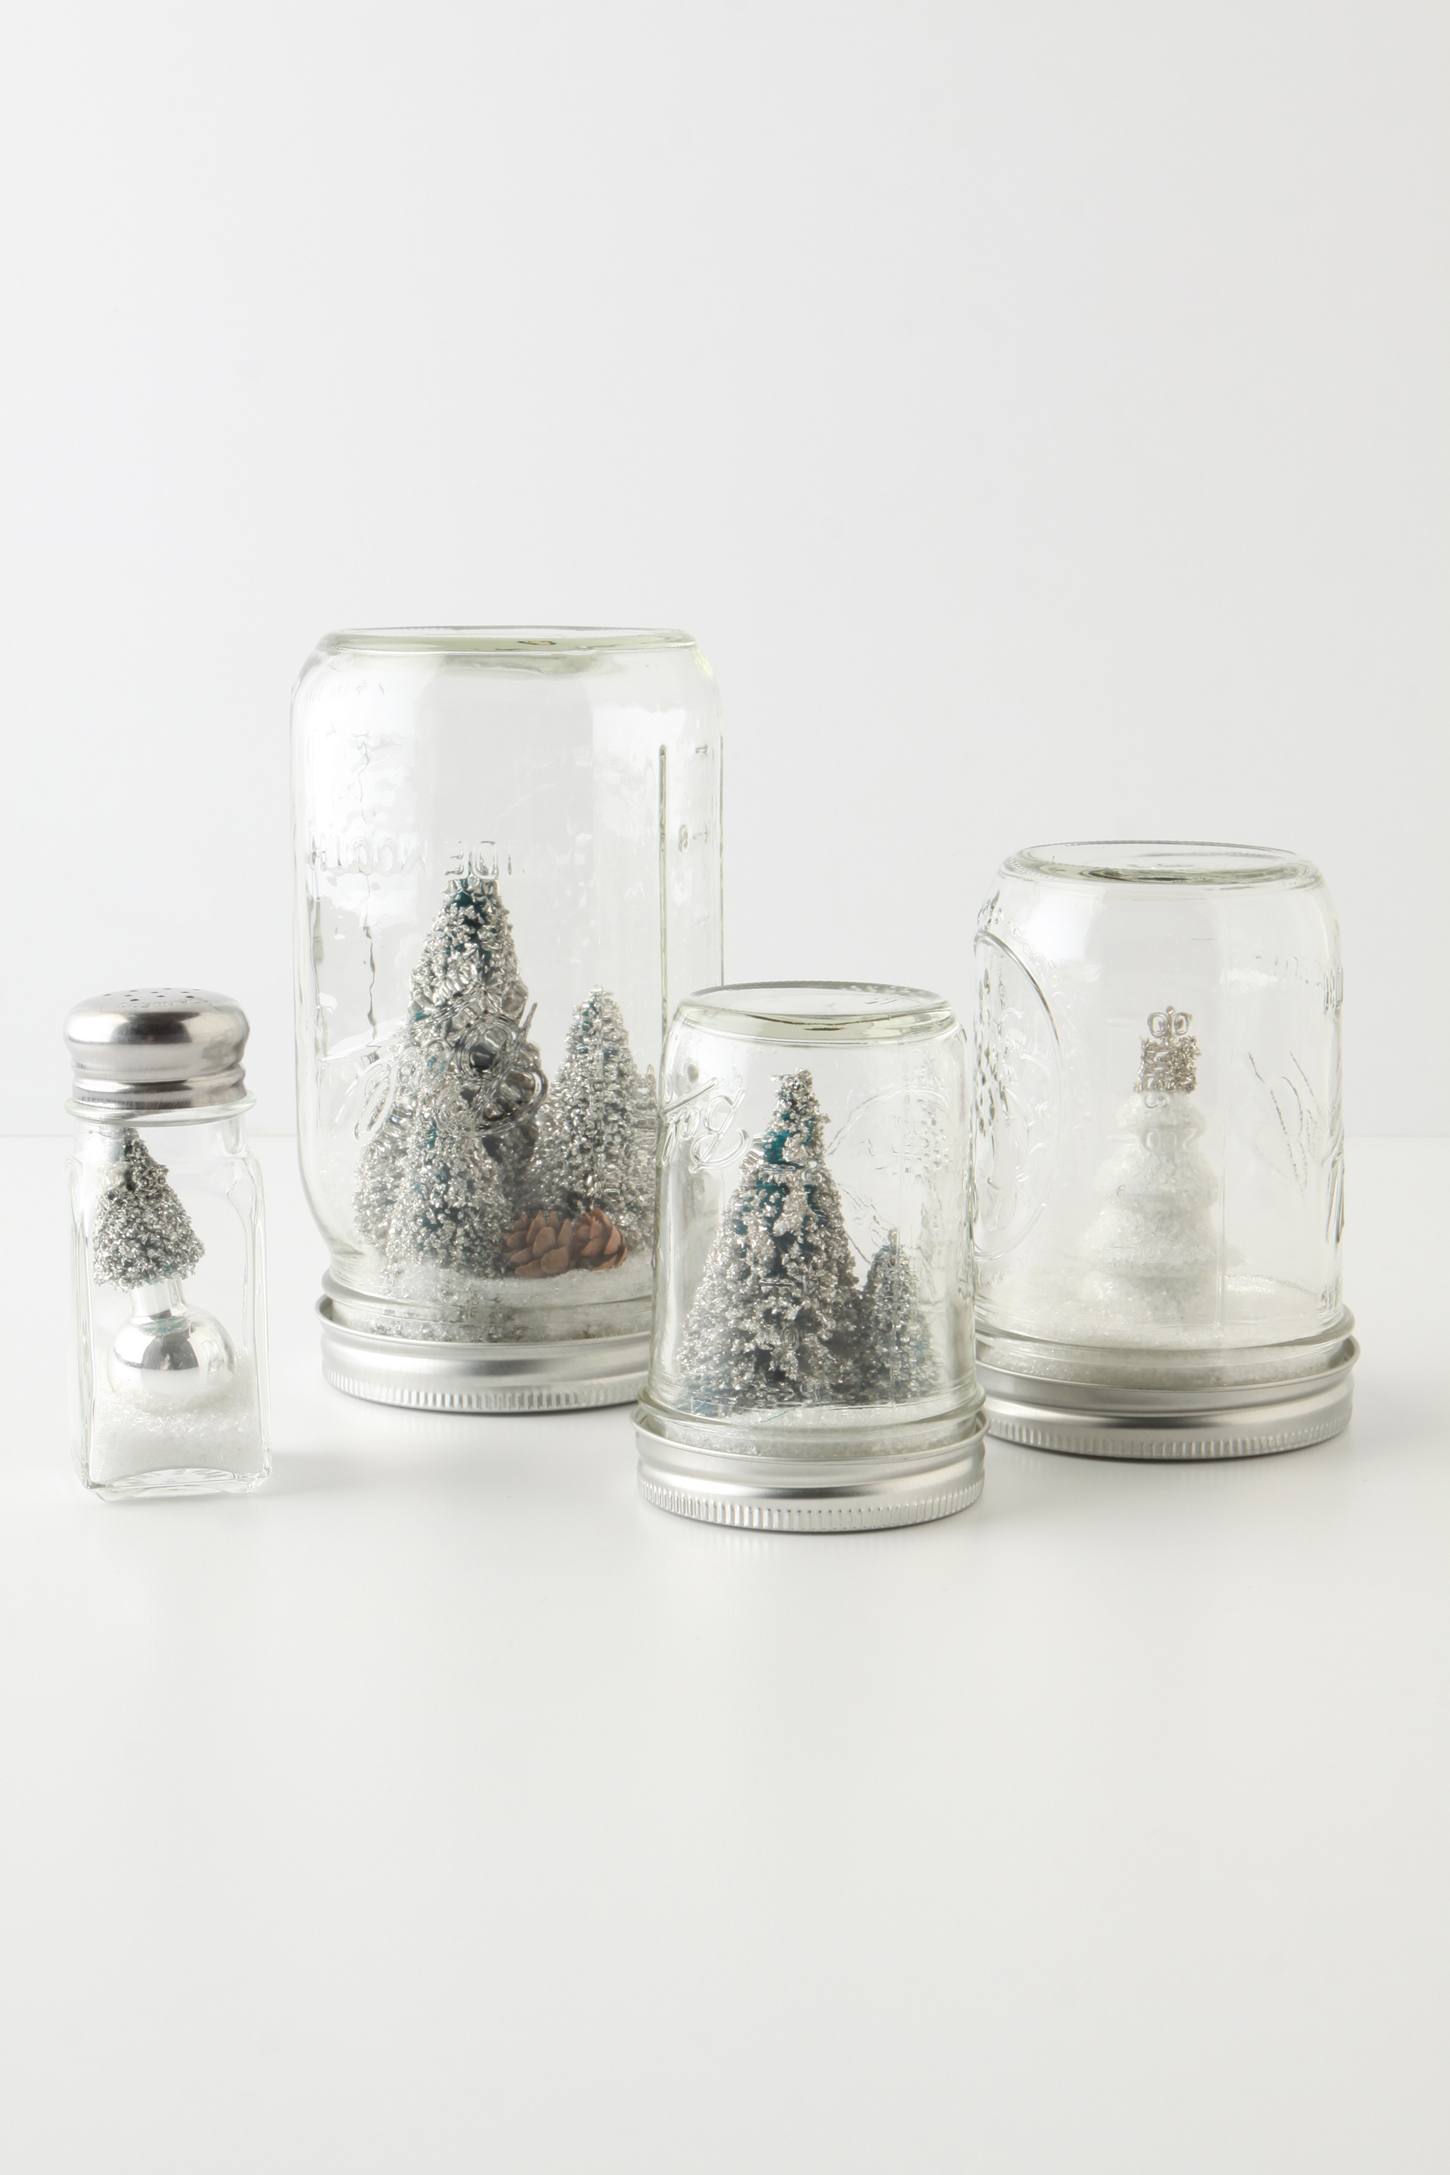
When our friend Becca invited us to a holiday craft night, I was pretty excited; I must admit this is one type of holiday get together I have always wanted to host myself! Her idea was to create some of these vintage mason jar snow globes inspired by these at the Anthropologie website:
Maybe I will just have to make some for myself another day. It was worth getting covered in pink paint to hear the squeal of delight when she discovered the jar this morning. Here's my nutcracker in all his glory surrounded by some lucite loveliness:
And may I just mention my dollar store find? A dollar each for these beautiful reindeer; which are (so far) resistant to the wrath of Holly:
A great start to Holiday decorating!
I knew I wanted mine to go in Holly's room because she has very little decorations for the holidays. So of course, Holly needs everything pink and sparkley! I decided to spray paint some dollar store nutcrackers and dip a bottle brush tree in turquoise paint :
The girls made some amazing jars, I admit I was jealous that I didn't make one in natural tones for my own decor!
The girls made some amazing jars, I admit I was jealous that I didn't make one in natural tones for my own decor!
Maybe I will just have to make some for myself another day. It was worth getting covered in pink paint to hear the squeal of delight when she discovered the jar this morning. Here's my nutcracker in all his glory surrounded by some lucite loveliness:
And may I just mention my dollar store find? A dollar each for these beautiful reindeer; which are (so far) resistant to the wrath of Holly:
A great start to Holiday decorating!
Friday, October 28, 2011
Halloween Craft Time with Holly Dolly
I may not have been able to make up Holly's costume this year as I wanted to, but I'm still going to pat myself on the back for making her a tail to go with her little peacock leotard (at 4 days overdue); here's how I created her half-home-made costume this year:
A few supplies from Michaels ...
Cut out with a paper template I created myself
This is what I used for the base of the tail, it is sparkley "stiffened" felt...I then proceeded to glue the pieces together (I also tacked them with thread because Holly is a little wild when she dances). I used two simple elastic loops for her arms...
Not bad for a little make-do tail to go with her leotard, don't you think? Of course, having a model that cute always helps. Happy Halloween!
Wednesday, August 24, 2011
Freeform Gingerbread Men
Who doesn't love kids' drawings? When I was a kid my Mum and I would make these freeform Gingerbread Men that look just like a cookie version of a drawing! Incidentally, in Australia we do ginger-related baking all year round, not just at Christmas. So today Eleanor and I decided to give it a go. Here's how:
- 3 cups all purpose flour
- 1 teaspoon baking powder
- 2 teaspoons ground ginger
- 1 teaspoon ground cinnamon
- 1/2 teaspoon nutmeg
- 1/2 teaspoon salt
- 1 stick (125g) butter
- 3/4 cup packed light brown sugar
- 1 large eggs
- 1/2 cup dark molasses
Now, depending on the age of you kid/s you can help them make the men. Eleanor is 2.5 so I broke off the pieces of each body part (head, body, arms, legs) and told her to roll them into balls or sausages. She then joined them together by pressing them onto the lined cookie sheet. We then used some raisins for eyes. You can use other dried fruits for buttons and other details if you like.
Bake them for about 10-11 mins, depending on what thick they are. When they start to get darker brown around the edges, they are ready.
And then eat. Mmmmmm.
Labels:
children's party ideas,
cookies,
cooking,
crafts,
kids,
kids parties
Tuesday, July 12, 2011
A Tea Cozy
I don't know what it is about having a girl, but it brings out my urge to sew. I have never been great at it, but it is something that I always want to do more of, so when Leila and I found this great Micheal Miller fabric at Len's Mill Store (a crazy shop where you can buy just about anything!), both of us had to have a yard of it, even with no project in mind. I have always needed a tea cozy, but since I would be sewing without a pattern I felt a little practice would be useful...and since Holly is such a girly-girl I felt she would appreciate a tea cozy of her own!
So funny, right? I would have loved something like this as a little girl as I loved to pretend just about anything...
I absolutely adore this fabric, even after Leila discovered it is a Christmas fabric. It is the perfect Kelly green...
For the pattern, I used a half bowl to trace four pieces and sewed in some craft batt to give it some form. I am pretty happy with it, but it is clear I need to perfect my use of bias tape before attempting my own! As for Holly, once she discovered it wasn't a hat, she was pleased to be able to serve up hot tea just like at Papa's house...
Subscribe to:
Posts (Atom)


