Friday, June 29, 2012
Smoked Pork Chops with Sauerkraut and Apple
The smoked chop was something unfamiliar to me. I'd seen them sitting there at the farmer's market for ages until I finally decided to take the plunge. And, oh baby, was it worth it!
The chops are fully cooked, so all you need to do is warm it through and give it some colour on the outside.
Heat some oil in a skillet and throw in your chop/s. While they are happily sizzling away, chop and onion and an apple. Turn the chops and put your onion into the pan around the sides of the chops. Now take your chops out and tent them with foil. Throw in the drained sauerkraut (about a cup for 2 people) and the apple. Let it sizzle for a bit and then glug in about 1/2 cup of beer, apple juice, or other flavourful liquid. Use this to scrape any yummy brown bits off the bottom of the pan.
Season with pepper (you won't need salt because of the sauerkraut and chops) and serve with a hot mustard. Yum!
Thursday, June 28, 2012
New Favourite Cleaning Recipe
Now I know I said I would post my IKEA deals today, but sadly I have been super busy, fitting in end of school fun, baseball and mini-soccer, and last minute rushes for the last day of strawberry picking! I did have a moment to address my disgusting kitchen floors though, and thanks to a "magic shower cleaner" I've been seeing all over Pinterest, my grout is finally back to its medium grey state (not brown). Sorry if these pictures are kind of gross, but I'm really excited about this!
For those of you thinking about dark grey tile because it will "mask" dirt, be warned. This tile shows every coffee dribble, dirty shoe mark, sauce drop, etc. It is particularly dirty in this case because of all the outdoor yard work; with no sod in the backyard dirt was making its way through the backyard...
I started to clean with a grout brush and my "magic solution". Soon my sink looked like this:
And Ta da! Here is the after...
The grout almost looks better than new! If you would like to try it, here is the recipe:
Fill a bucket (or sink) with 2 inches of water
Add 1 cup vinegar
Add a tablespoon of dishsoap.
Use a grout scrub brush for best results (I got mine at home depot). What I like best about this recipe is that it does not leave a film like baking soda recipes do.
Happy cleaning!
Wednesday, June 27, 2012
Butter Chicken. Yum.
Who doesn't love Butter Chicken? I've made it a couple of times and always been impressed with the result - you'd be pretty happy to get this at a restaurant (in my opinion).
This recipe is heavily tweaked from Hugh Fearnley-Whittinstall's The Meat Book.
What you'll need to marinate the chicken:
- 1.5 kg bones chicken thigh fillets, chopped into inch cubes
- 1 tsp salt
- 2 Tbs plain yogurt
- 1 Tbs lemon juice
- 1 Tbs Garam Masala
- 1 tsp chilli powder
- 1 tsp paprika
- 2 tsp coriander seeds
- 2 tsp fenugreek seeds
- 2 Tbs grated ginger (fresh)
- 6 cloves of garlic
Mix the ingredients together and let marinate for 2-6 hours, but no more ideally. Fire up your oven to 350F and put some oil in a couple of roasting dishes. Drizzle some oil in there and then plonk the chicken and marinade in there (single layer, please!) and bake until just cooked.
While this is happening, make the sauce:
- 2 x 400g tins of chopped tomatoes (don't use pureed or you'll have burns on your arms from the spitting. Ask me how I know)
- 2 onions, chopped
- 6 cloves of garlic
- 1 Tbs grated fresh ginger
- 1 cup water
- 1.5 sticks of butter
- 2 tsp ground cumin
- 2 tsp tomato paste
- 4 tbs honey
- 1 Tbs fenugreek
- 1+ cup heavy cream
- salt and pepper
Start my melting your obscene amount of butter in a large pot (it's called Butter chicken for a reason!). Now add the onions and saute until golden. Add the garlic, ginger, cumin, fenugreek, and fry until the spices are smelling great. Don't let them burn. Toss in the tomato paste and fry for a bit. Then add the water and use it to scrape the brown bits off the bottom of the pan.
Add the tomatoes and simmer for about 20 mins. Puree this sauce with a stick blender (or regular one). Now add the cream and honey. Taste it. You'll want to add a fair bit of salt and pepper. If it's too tomato-ey, add more cream and/or honey. It shouldn't taste specifically of tomato, but rich, creamy and delish. Now add the cooked chicken, stir and let the flavours mingle over very low heat for about 10 mins.
Serve with basmati rice and other curried things.
Tuesday, June 26, 2012
What I'm Reading Lately
I'll share on Thursday what deals I scored at IKEA this weekend (first time having success in the "as is" department-yay!). Until then I thought I would share a few blogs that have been inspiring me lately:
Stil Inspiration
Moa Og Kaffekoppen
Et Horn Av Eden
La Maison D'Anna G
Moa Og Kaffekoppen
Et Horn Av Eden
La Maison D'Anna G
All of the pictures above are from the bloggers own homes, the first being an amazing renovation of an old Victorian, which you all know is my favourite!
Enjoy!
Monday, June 25, 2012
Sweet Potato and Sausage Salad with Garlic Scape Kefir Dressing
Borne out of necessity (and fridge contents), this salad was a triumph! I had some farmer's sausage that I sliced and fried until brown and yummy. Then I cubed and steamed some sweet potato until it was cooked. I then sauteed it in some butter until it went brown and caramelly.
For the dressing I simply whizzed up a few garlic scapes and kefir together in the food processor. If you don't have kefir, just use plain yogurt. I then seasoned the dressing really well.
To serve - I washed and dried a big pile of fresh mesclun from the farmer's market and then put the sausage and sweet potato on top. A drizzle of the dressing finished it up. I was quite tempted to lick the bowl when we were done.
Friday, June 22, 2012
Lights
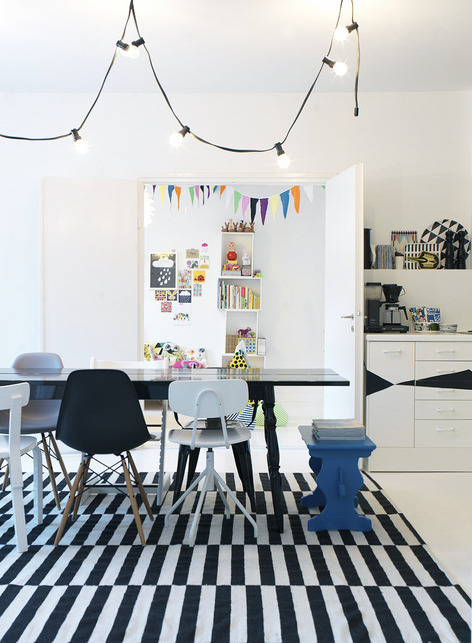
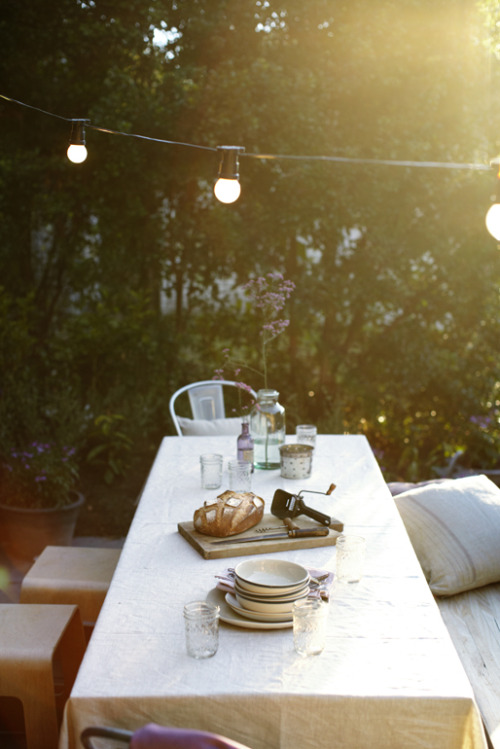
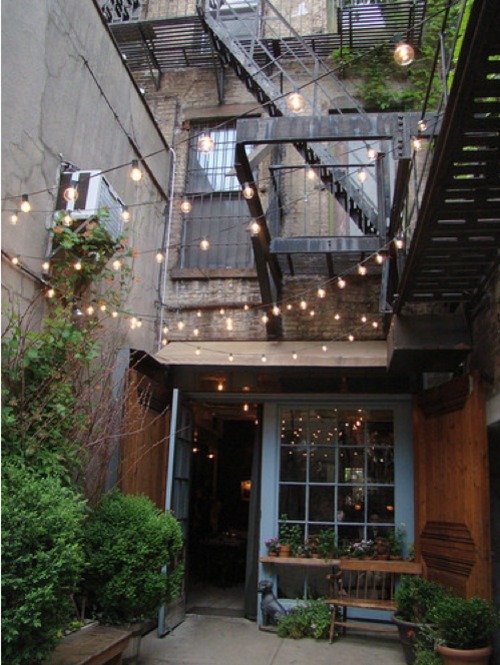
Can someone please tell me where to find lights like these in Canada? I found an inexpensive version at Target, but can not wait until 2013! (Have also phoned wedding/party supply stores). I love them so much and need your help!
Happy Weekend!
Thursday, June 21, 2012
Risotto Milanese with Garlic Scapes
My family is into risotto. Big time.
Last night's version was my take on a risotto milanese - the classic. Homemade stock is key here because the flavours are so delicate.
What you do is follow my basic recipe and add a pinch of saffron threads while you're cooking it. No veg other than the onions and garlic. A glug of white wine in with the stock and lots of parmesan at the end.
And that's your Risotto Milanese. Except this week I had some garlic scapes from the markets. What is a garlic scape, I hear you ask? Here'a bad photo of some:
You can only get them at farmer's markets and only for a limited season. They are the curly tops of hardneck garlic plants which are cut to strengthen the bulb. They also have a marvelous garlic-y flavour. Chop them up and put them in anything that you'd put Asparagus in (they take about the same amount of time to cook).
Anyway. I chopped some up and put them into my risotto towards the end of the cooking. And it was divine! I love seasonal produce, don't you?
Wednesday, June 20, 2012
Green
I can't even begin to express my excitement for this:
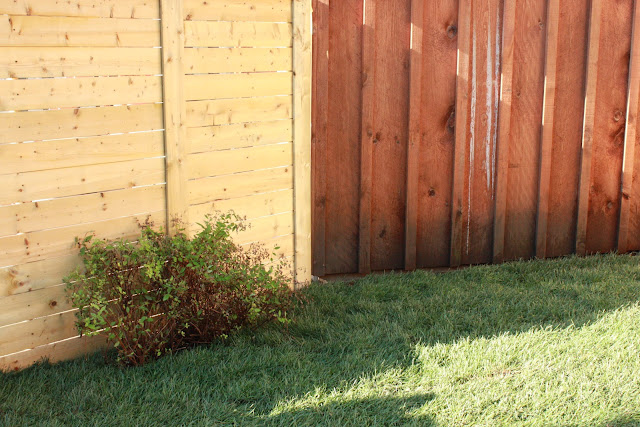
slow progress, but almost at the stage where we can add some pretty. And no, that's not bird s@@@ on the shed, anyone know how to remove tree sap?
slow progress, but almost at the stage where we can add some pretty. And no, that's not bird s@@@ on the shed, anyone know how to remove tree sap?
Tuesday, June 19, 2012
A Raita to Cool You
With the temperature going up, I decided some Indian-inspired food was in order. Whenever I have Indian food I love to make a Raita - the traditional yogurt and cucumber condiment. It cools you between bites of the hottest curry and is so easy to make!
Take a whole English cucumber (the really long ones), then peel and grate it. Put it in a sieve or colander in the sink and sprinkle with well with salt. Let it drain for at least 10 mins, preferably 30 mins. Now squeeze it out well. Lots of juice/water will come out. Plonk it in a bowl and then put in about 2-3 cups of full-fat yogurt (you need the fat to cut the chilli oils if you're using it as a cooling thing), and a good pinch of Garam Masala. Mix it up and chill it. There. That's it. If you want, you can also add a handful of chopped mint, but I was going to serve mine with something minty anyway so I didn't bother.
How are you staying cool this week?
Monday, June 18, 2012
OK, I Think I'm Good For Now
Or maybe not. My obsession with chalkboards continues, as I picked up these two for a mere $1.50 this weekend....
I justify the purchase because over the weekend someone wrote 1+1= 11 and my son's name wrong on it...perhaps this will help. My only dilemma is where to hang them, because I already have chalkboards in the kitchen and the playroom. The front hall? The kid's room? Help! I also picked up this sweet little coat for my pony loving daughter...
A vintage tailor made riding jacket. Of course, she will be 8 by the time she can fit into it, but it was too sweet to pass up. Score any finds this weekend?
Friday, June 15, 2012
Cake Wreck
If you're wondering what you're looking at, it's a cake fail.
When I moved to the States I bought this lovely Nordicware bundt pan:
 |
| Squires Shop |
I was determined to do it yesterday, so I went and bought the Pam Baking spray - it has flour in it. I was assured that this was the way. So I make my cake.
I used this recipe from the Pioneer Woman, except I omitted the flavourings and used the seeds of a vanilla bean instead. I suppose I should have been suspicious that she didn't show a pic of her's unmoulded.
When I tried to unmould, the bottom half came out, leaving the entire top half in there. Ugh. So I had to take the top out and reassemble it. Luckily (I suppose), it was only in 2 pieces, not more.
So I checked out the Nordicware site for answers. Apparently, once you take it from the oven you should leave it to sit for precisely 10 mins, then shake from side to side, and then unmould. And now I'm obsessed with doing it right. Stay tuned!
By the way, the cake tasted amazing. How could it not, with 5 eggs and 3/4 of a pound of butter?
Thursday, June 14, 2012
Pea Gravel In!
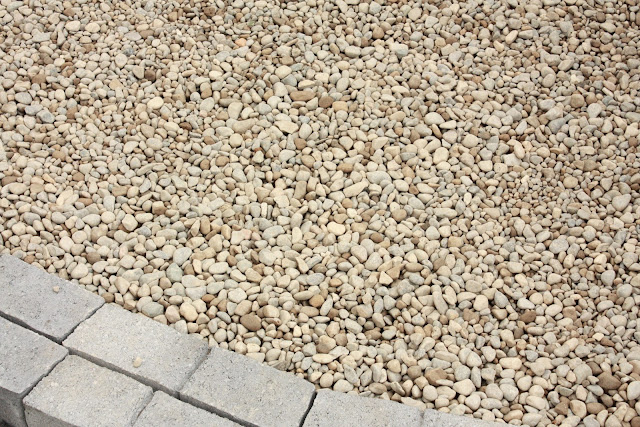
We did it! decided to go with pea gravel. After doing the calculations, a small patio to the side of the deck in paving stone would have cost approximately 400 dollars. Yikes! If you have a kind friend with a truck, that same area cost about 40 dollars cash at a local aggregate place (plus a husband complaining of a sore back for 4 days). We are pretty excited with how it turned out so far!
We decided to put stone edging to contain the gravel, which cost about 26 dollars. Now hopefully the weather stays nice this weekend so we can keep working on our little yard (next step, sod, stain deck, and paint!)
We decided to put stone edging to contain the gravel, which cost about 26 dollars. Now hopefully the weather stays nice this weekend so we can keep working on our little yard (next step, sod, stain deck, and paint!)
Wednesday, June 13, 2012
Yard Sailing
If you've been reading this blog for a while, you'll know that Rachel is the Queen of Yard Sales (or Yard Sailing, LOL).
We went to a neighbour's sale this weekend and I came away with the most adorable mid century memory game for the kids! I just LOVE the illustrations!
There are so many cards that I would love to be able to preserve them somehow.
How about these ideas:
 |
| House of Young Children |
| Inspired Whims |
Tuesday, June 12, 2012
Fun with Chip It!
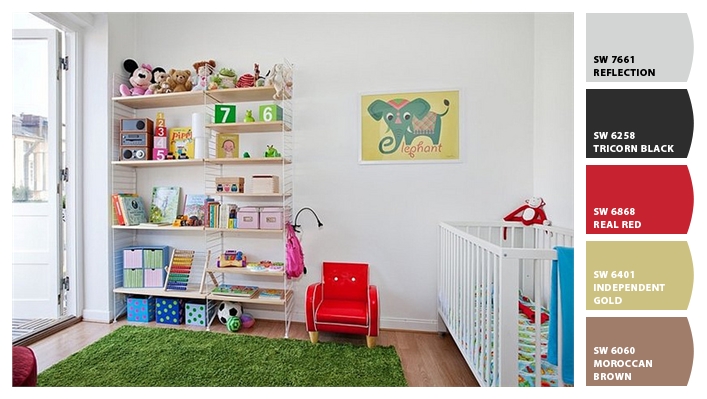
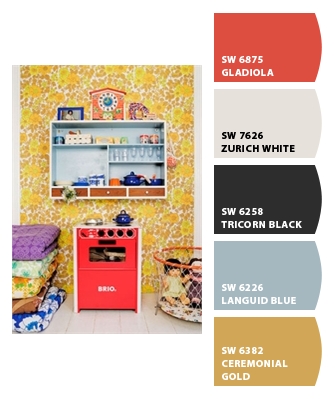
Maybe I'm amused easily, but I've been having a lot of fun turning pictures into paint palates with Chip It!, the new app by Sherwin Williams. See, I'm someone who loves design, but in application I get really stuck when it comes to paint colours because I gravitate towards all things grey and white (the overly cautious paint picker). Are you the same? Check out some of the palates I made using some of my favourite pictures...
Images found here (1./2./3./4./5./6.). And you can find the app Here.
Have fun!!
Images found here (1./2./3./4./5./6.). And you can find the app Here.
Have fun!!
Monday, June 11, 2012
Game Day Steak
My husband and I are avid Ice Hockey fans and it was an important game on the weekend. We decided it was necessary to eat a Man-Sized Steak.
We got a couple of strip steaks and cooked them using the Gordon Ramsay method:
This method produces really yummy steaks. We season it really, really well.
To go with it, we boiled some whole potatoes and then cut them up once they were cooked. We then sauteed them over high heat in some butter and olive oil. A sprig on rosemary is delish here!We prepare these before we start the steak as the steak doesn't take very long.
After the steak was done and was resting, I threw some asparagus, olive oil and salt and pepper into the still-hot pan. Once they were almost done, I squeezed some lemon juice onto them. Yum!
Friday, June 8, 2012
Sweet Pea...
At first I thought I was being crazy cheap when I suggested pea gravel for the other "patio area" in our backyard. I'm still in shock at the price of landscaping supplies (what would I do if I had a big backyard?), but I'm feeling inspired that there is an option that is practical, economical and stylish...
I especially love the look of stone and gravel mixed, don't you?
Thursday, June 7, 2012
Red Pepper and Mushroom Frittata
My Mother-in-Law has been staying with us so I've been making some nice things for lunch. I've posted about frittatas before, but this is a nice quick version. This frittata was a great hit and totally yummy.
- 1.5 Red Peppers, fire roasted or roasted (and skinned - you can buy these or make them.
- 2 green onions
- 2 cups sliced mushrooms
- 6-7 eggs
- 200g grated cheese
I used a cast iron skillet for this. Put a bit of olive oil in your skillet and fry the mushrooms and chopped green onion over med heat. While this is happening, beat your eggs, grate the cheese and chop up the red peppers. Now whisk these together in a bowl. Once the mushies are done, put them in the egg mixture and put a bit more oil in the pan. Mix up the egg and little to distribute the mushies and pour into the (hot) pan. Let it cook over med heat until the bottom is browned (you can lift up the side gently to see this). Don't let it burn.
Now fire up your broiler and put it under there until the top's brown. Giv ethe pan a little jiggle to see if it's cooked through. If it's a bit jiggly, turn on the oven (it should be up at temperature because of the broiler, so no waiting) and leave it in there for about 4 mins or so. Take it from the oven, let it cool slightly and feed it to your hungry MIL.
That's what it looked like when it came out of the oven. Excuse filthy stovetop vents!
Subscribe to:
Posts (Atom)


