Showing posts with label reno. Show all posts

Tuesday, August 14, 2012

Finally the Right Step

One of the biggest pet peeves about this house when we moved in were the soggy, worn down carpeted stairs...for those of you who saw the before pics of my house, you may remember these:
That picture almost makes them look good. In reality the carpet is sagging off the front, and they are dirty and gross. Trust me. And creaky as well! It is no wonder when the underneath looks like this:

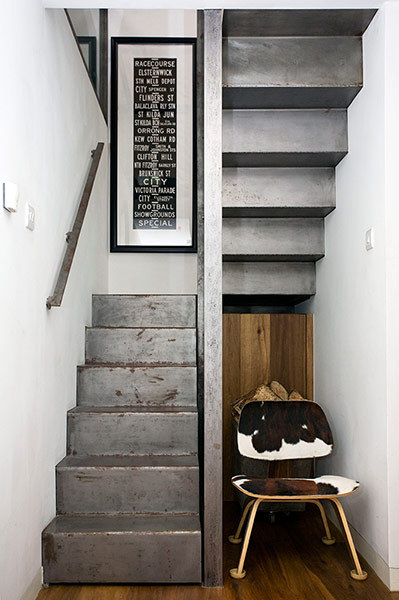
 We were pretty sad to see that they were the original stairs underneath. The ideal circumstance would be to restore the old stairs to maintain character, but most of them are split right in half! (hence the sagging). We found a deal a while back on a tread and riser kit that covers existing stairs instead of taking them off and replacing them. I don't have any beautiful after pictures of them yet, but I can instead leave you with some pretty pictures of creative and beautiful staircases that keep me motivated for the finished product!


I think I may have a new obsession!

Monday, September 19, 2011

Living Room Reveal!


This is the moment I've been terrified of - letting you actually see larger portions of my house!

Today is the day, though, and I'm feeling quite chuffed because I've finally finished decorating my mantlepiece. Rachel's Mom (garage saler extraordinaire) had a garage sale on the weekend and she was getting rid of a lot of milk glass. I thought it would look nice against my grey walls and I think it works, don't you?

I'm also happy with the stacked wood in the fireplace. It works as a great kid-proofing!

The colour on the walls is Sherwin Williams Gauntlet Grey.

The magazine rack is still only primed because I haven't decided what colour to paint it (orange? pink? What you do you think?).

And here are some more shots:


And here's a before shot when we looked at the house. Obviously, this isn't our furniture or decor! The whole place was painted that beige and the guy in the pic is our realtor.

Friday, September 16, 2011

Bathroom Reno Progress

Well, here we are after week one and already my bathroom is taking shape! Today is grouting day, and Monday the floor gets ripped up and the toilet moved...until then, here's your sneak peak:

I am so pleased with the mosaic border, Rona is having a truckload sale with glass and marble mosaics! Luckily, they had this one which has the perfect blues and greens to go with my bargain floor tile. For those of you curious about the price, a border of this size cost around $40 (at 6.99 a square foot), and the subway tile was a bargain at 1.99 a square foot. A good way to get a classic look that will suit lots of tastes.
Hope you have a good weekend and I'm looking forward to sharing progress next week!

Monday, September 12, 2011

Bathroom Reno:Phase One

Today is an exciting (and anxiety filled) day for me; the day my tub gets replaced! We decided that the bathroom reno would be a little much for my husband to handle right now with work and a new baby on the way (speed is also an issue-I don't want to spend six months with a new babe and no tub!). Our contractor has decided to do this reno in "phases", this week the tub and surround will be completed. To stay on budget, plumbing stays as is: if this was a forever house I would have probably separated the tub and shower. Of course, there are lots of economical and stylish options out there if you just shop around and keep it simple:
The American Standard "Minimalist" tub is the one we will be going with this time: it is cheap and offers clean lines and a deep soak.
The shower head and faucet will be replaced with a brushed nickel finish. Our contractor recommended Moen because he has had wonderful experience using their products.
This is as far as we have had to buy at this stage, we will be picking out tile today! Without further ado, here are the nasty before pictures (avert your eyes if you dislike slimy mold).


Shallow tub, bubbling vinyl floor, mold, rotten wood...not exactly luxurious; but we were using it! Lets hope I have some progress pictures for you next day!

Friday, August 26, 2011

New House Numbers!

 Before...

...and AFTER! 
(ignore the big hole near the shutter)
Rachel posted about buying our numbers from Re-Store here and I finally hung them on the weekend! We'd been suffering with the old ones for way too long. Here is how I did it. I'm sure it seems obvious to the more handy, but for me it was a first time.

First I pried the old numbers off with a hammer

Next, I taped the guides to the wall, trying to get as many of the drill holes in the mortar. I then used a screw and a hammer to punch through the paper to mark the hole placement. Then, using the worst drill in the world, I drilled 1/8 inch holes using a masonry bit, and then re-drilled using 1/4 inch.

Then, the instructions said to fill the holes with caulking and push the numbers in, holding them in place with tape:


  And here is the result. If you look closely, you'll see that the caulking is visible. I'm going to trim it back as far as I can with a craft knife and if that doesn't help, I might try pulling them out and using a clear or darker coloured caulking. Or I could try using a Sharpie to colour it in....


Tuesday, August 9, 2011

Renovation ADD, not the prettiest post

So this weekend was a beautiful weekend, and I was ready to escape my unfinished home to go to IKEA, when we stepped back and realized we should focus on what needs to be done at home instead. Some of you DIY-addicts may empathize when I tell you we have a TON of unfinished, partly finished, and mostly finished projects in our home. One way we have avoided burnout is by rotating projects (not for everyone, I know!). So instead of accumulating more "solutions" to disguise the problems in our home, we decided to "yawn" stay home and finish one. Our upstairs floor was always a wreck, and when I came across a deal for engineered hardwood for 99 cents a square foot, it was decided we would do the entire upstairs the same. Holly's room was a gross, pee stained carpet, with un-salvageable hardwood underneath. Henry's was just as bad:
Yes, there were areas that were ducktaped. Holly's room was done the week we moved in (a year ago) because we could not handle the smell. There were other problems with Henry's room, I have shown you bits and pieces, but most of the time it could not keep clean because nothing had a proper place. I would love to be able to make it simple to clean like the playroom. Most of his toys were stored in this lovely piece:
 It was huge and bulky; and his dresser in the corner? Let me just say that was not the easiest spot to get to after laundry. So this weekend we finished the floors and threw that ugly, bulky wardrobe to the curb:


We are left with this, not bad. Note: for those of you considering engineered flooring with a click-lock system (floating floors); please reconsider. They were hell to put in. Always finicky, they would unlock in certain places and we would be left with gaps. Nicks and scratches were SO visible and the floor would chip from the tools (which was unfair because sometimes you had to use brute force to get it to stay together). Ah well, lesson learned. Good old fashioned nailed down floors in the next house for me.
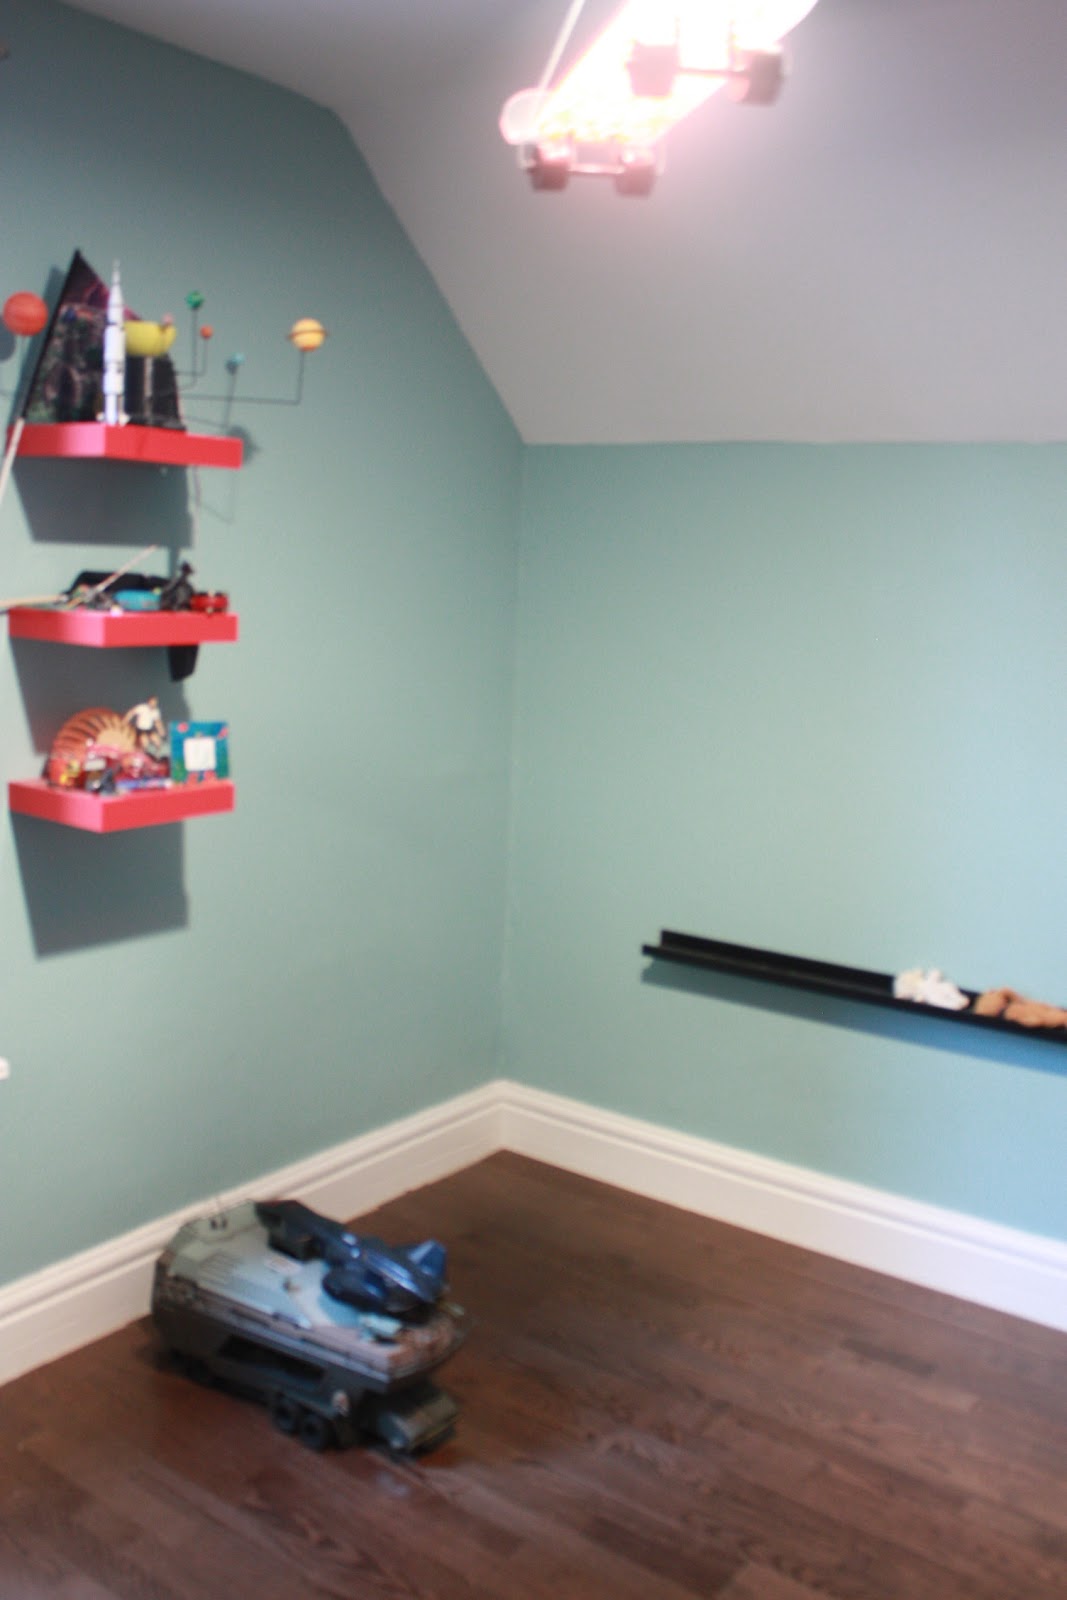
So on to the next problem; this one I could use some help with. Henry loves the new (cleaner) look in his room, however, he forgets that most of his stuff is piled in Mom and Dad's room:

Yikes! The problem is, no closets upstairs and the stuff left in Henry's room is bulky and can not fit in an expedit nicely like in the playroom. And Henry's "design plan", while well thought-out, was a little out of scale:


So, heres my question folks: Since an expedit is out of the question, and IKEA is what I can afford for this project, what do I do to hide large toys like fire trucks, GI Joe tanks, and Captain Rex Helmets? These are the two options I can think of:
A couple of these, side by side? Or go completely open:
What do you think? any other ideas? I prefer closed storage but am open in this case to anything...

Wednesday, August 3, 2011

Re-store Love

Have you been to a Habitat for Humanity ReStore? They are like thrifting to DIY-ers, a source for used/donated renovation supplies (and other good things, there is a furniture section in the back sometimes). I remember faintly going there when my parents were renovating their house, and a friend reminded me of the fun treasures you can find when she came back with a brand new (still wrapped) tub for $100. I have also heard of complete kitchens for $400, and if you are patient (so not me, I rushed to IKEA), with some paint and hardware it could make for a really cheap reno. I kept the resource at the back of my mind for some time until another friend came home with these tiles, still new in the box:

I had to check this out in person. 20 minutes later I came home with enough for a bathroom reno (soon to come). At 9 dollars a box, the tiles came out to something ridiculous like 80 cents a square foot...I liked them a lot because they were like no other tile I had seen at the store (if the picture does not show, they are a pale, grey-ish aqua-ish colour and have a wood grain). Their long rectangular shape is just begging for a herringbone pattern to me!
Aside from this purchase, I also found some of the supplies for Holly's Play Kitchen. Then one day Leila was talking about some house numbers she has been coveting...DWR fans know what these are all about...

I'm sure these numbers are made of some amazing material and I am committing design blasphemy by saying this, but I was sure I saw "the look for less" at the local re-store. (By the way, I have seen these numbers in person and they are oddly tiny, I like the re-store version better)! We both came home with some of these:


What's that? 4.75 for floating numbers instead of 48 dollars a piece? So satisfying to find a good deal. 
Have you used the re-store? Tell us your finds!

Tuesday, July 26, 2011

Weekend Happenings and Reno Updates

How was your weekend? Like Leila, I spent some time at the local pool, mostly to allow my husband to get some work done:

Yes, that's the backsplash! which means a full kitchen tour is around the corner. Remember when I was waffling between dark and light grout for the kitchen? These groutless tiles kind of make me want to go dark and dramatic but I'm still unsure. The room is bright enough back there to handle it I think, but I have practiced so much restraint so far making neutral design decisions to make this house attractive to future buyers,  I don't want to stop now that I can see a future reno on the horizon (hint: we are about to outgrow this house!). 
Other than the backsplash, we had tiny pedis by the pool (AKA occupy toddler while big brother is in swimming lessons):

Any ideas on getting two year olds to not curl their toes under after the polish is on? She doesn't seem to mind, but I notice it!
I also had some fun playing with my new gadget:

We tested a cookies and cream recipe this weekend but are now considering moving on to chocolate bars...update soon. This machine is a godsend for parents of children with nut allergies!
Well, that was the extent of my weekend, I hope you enjoyed yours as well!